Master Interior Decoration with Stencil Techniques An Ultimate Guide
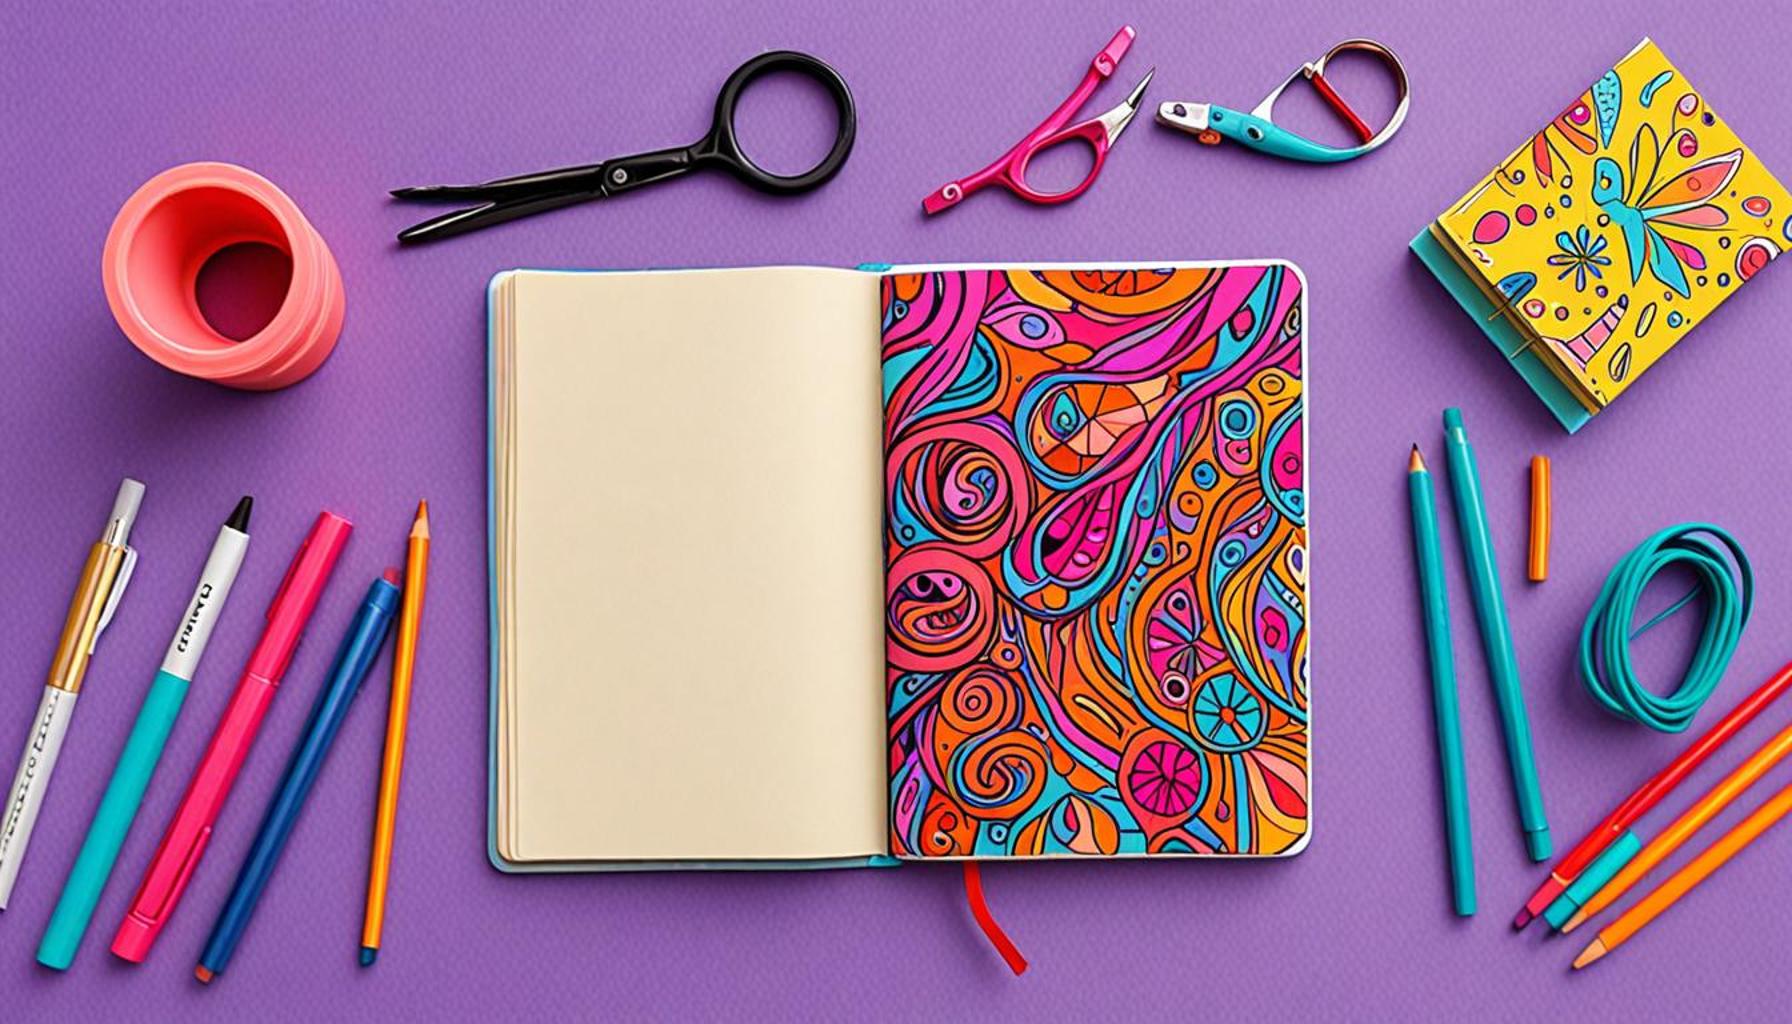
Unleashing Creativity with Stencil Techniques
Interior decoration can often feel daunting, but with the right tools and techniques, anyone can master their surroundings. One of the most inviting methods to enhance your home decor is through stencil techniques. This engaging art form allows for creativity and personalization, turning plain walls into stunning focal points.
Imagine the possibilities with stenciling:
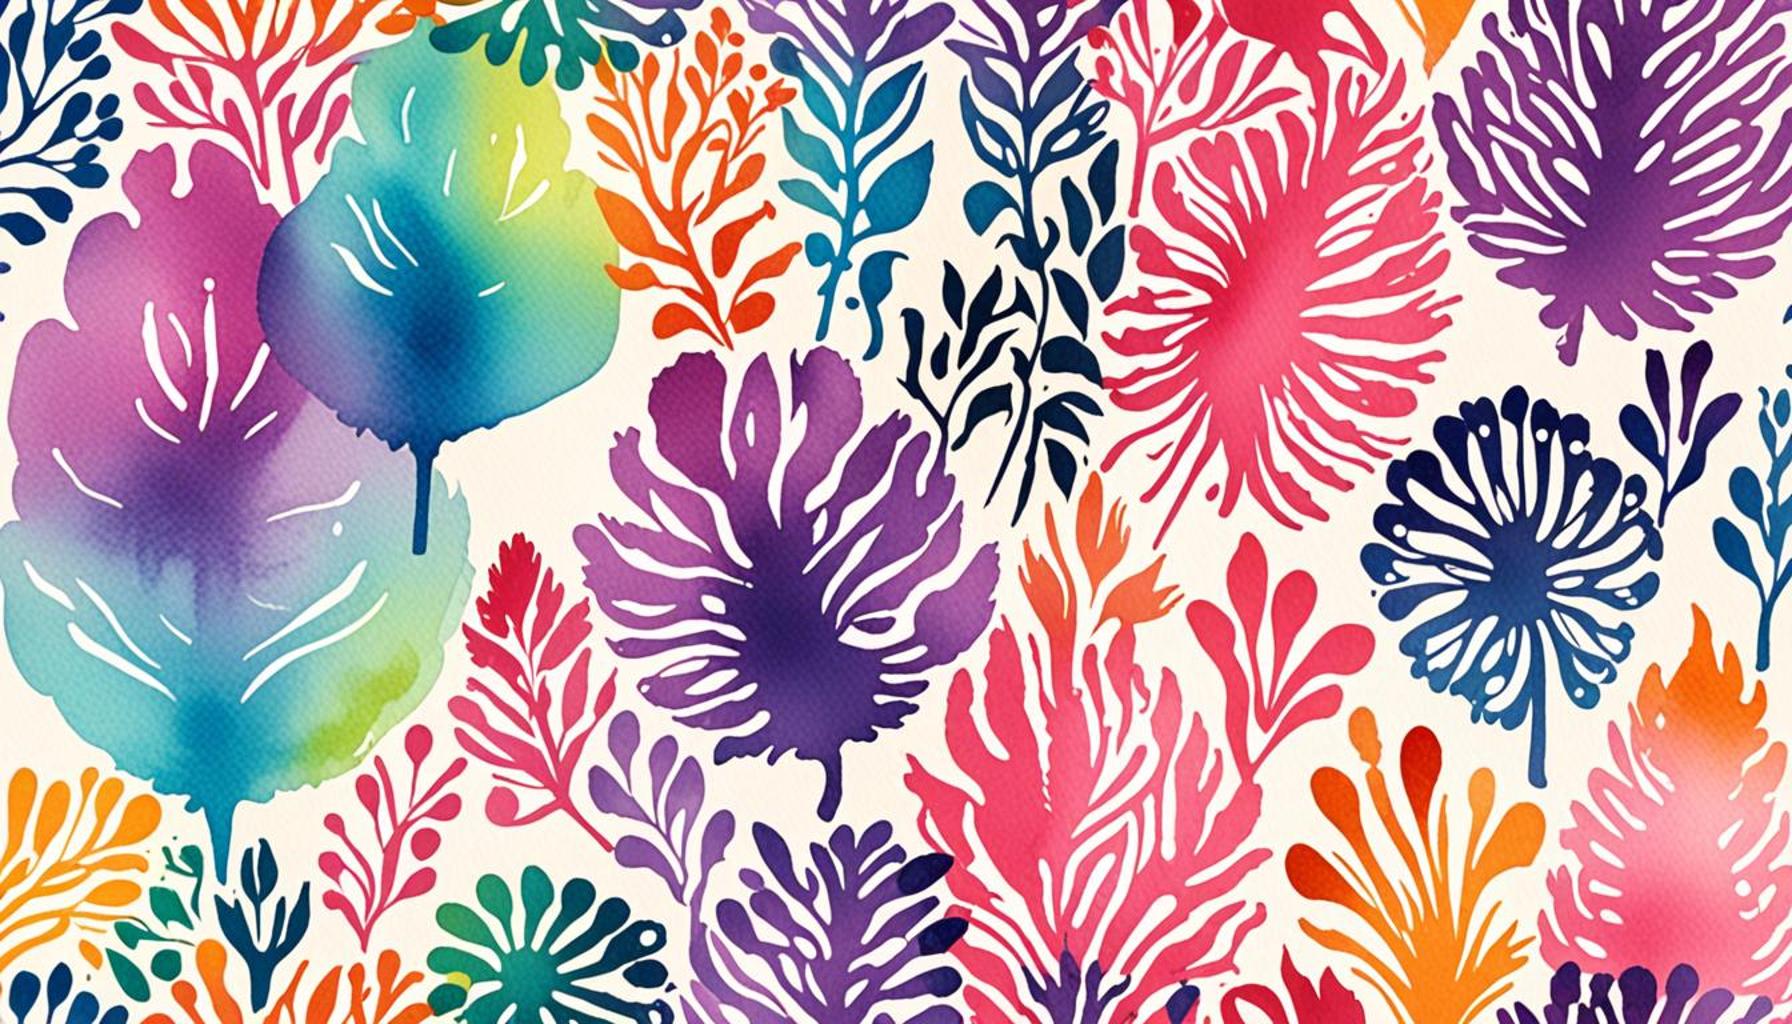
- Custom Patterns: Create unique designs that reflect your personality. The beauty of stencils lies in their versatility; you can easily mix and match patterns to curate a look that is entirely your own. For example, if you are a fan of the boho aesthetic, you might choose mandala stencils, while industrial enthusiasts might gravitate toward angular, geometric patterns.
- Varied Applications: Use stencils on walls, furniture, and fabric. Besides painting walls, stencils can breathe new life into old furniture, offering a chance to update a worn-out dresser or a bland coffee table. You might even consider stenciling on throw pillows or canvas bags for a personalized touch that elevates your entire room’s ambiance.
- Affordable Transformation: Achieve a high-end look without breaking the bank. Compared to hiring a professional artist or designer, stenciling provides an economical option for those wishing to achieve a similar aesthetic. Online retailers offer an extensive range of stencil kits at reasonable prices, making it accessible for any budget.
From chic geometric patterns to intricate floral designs, the options for stenciling are virtually limitless. Not only does this technique allow for artistic expression, but it also rejuvenates outdated spaces. For instance, a plain white wall in a hallway can become a vibrant gallery with stencils depicting your favorite quotes or imagery. The use of color can transform a simple design into something striking, capable of transforming the mood of a room.
In this ultimate guide, you will uncover essential tips, tools, and step-by-step techniques to elevate your decor game. To begin, choose high-quality materials, such as durable stencils and the right paint, ensuring longevity and a polished finish. Make sure to practice your technique on a scrap piece of material before committing to your walls or furniture.
Whether you’re a seasoned DIY enthusiast or a novice looking for a weekend project, stenciling is an art form that fulfills both aesthetic and functional purposes. Let’s explore how to effectively use stencils, tips for ensuring crisp lines, and creative strategies to transform your living space into a masterpiece.
Venture into the exciting world of stenciling with confidence as you create a unique personalized environment that reflects not only your style but also your spirit. With just a few brushes, a stencil, and a splash of paint, your home can become a vibrant canvas of your imagination.
SEE ALSO: Click here to read another article
Essential Tools and Materials for Stenciling
Before diving into the exciting world of stenciling, it’s crucial to equip yourself with the right tools and materials to achieve impressive results. The essence of masterful interior decoration using stencil techniques lies not just in the designs but also in the application. Here’s a handy checklist of essentials:
- High-Quality Stencils: Invest in durable, reusable stencils made of plastic or mylar. These materials are not only resilient but also provide crisp lines and can withstand multiple uses. Look for designs that resonate with your personal style—from elegant florals to modern geometric shapes.
- Paint Options: Choose the appropriate paint based on your surface. For walls, acrylic or latex paints work effectively, while fabric paints are ideal for stenciling on textiles. If you’re considering a metallic finish to add drama to your decor, explore metallic acrylic paints that will elevate your stenciled designs.
- Brushes and Rollers: A variety of brushes, including foam brushes, stencil brushes, and rollers, can make a significant difference in your application techniques. Foam brushes are great for larger areas, while stencil brushes allow for more precision in detail work.
- Painter’s Tape: This is your best ally when stenciling. Use painter’s tape to secure your stencil in place, eliminating any chance of it moving and ruining your design. It also helps when you want to create a clean edge, especially if your stencil overlaps with a base color.
- Sponges: If you’re looking to achieve a textured finish, consider using sponges to dab paint through the stencil. This can create depth and interest in your designs, perfect for subtle effects or for layering different colors.
- Protective Gear: Paint can easily splatter or spill during the stenciling process. Equip yourself with old clothes or an apron, and lay down drop cloths to protect your floors and furniture.
Arming yourself with these tools sets the stage for a successful stenciling project. Once you have gathered your materials, it is time to prepare your space. Ensure the area is well-ventilated, especially if using spray paint or products with strong fumes. Additionally, make sure the surfaces you’ll be stenciling on are clean and free from dust or grease, as this can affect paint adherence and the final appearance of your design.
With the right tools and materials in hand, you’re ready to embark on your stenciling journey. Next, we will discuss techniques for achieving perfect results, emphasizing how to ensure crisp lines and successful color application.
| Advantage | Description |
|---|---|
| Customizable Designs | Stencil techniques offer a wide array of patterns and motifs that allow homeowners to create unique and personalized spaces. |
| Cost-Effective Renovation | Using stencils can transform any room at a fraction of the cost of wallpaper or custom art, making it accessible for all budgets. |
| Easy Application | With minimal tools required, even beginners can achieve professional-looking results, making interior decoration approachable. |
| Durability | When applied correctly, stencil designs can withstand wear and tear, maintaining their beauty over time, adding longevity to your decor. |
By mastering stencil techniques, enthusiasts not only foster creativity but also pave the way for **personal expression** in interior decoration. This ultimate guide reveals the importance of understanding the rich history of stenciling, which dates back centuries, to appreciate its contemporary applications. As you delve deeper into each technique, you will discover the specific tools and materials necessary to achieve diverse effects. Combining stencils with various paint mediums can elevate a simple wall into a work of art, transforming the atmosphere of your home. Engaging with stencil techniques isn’t merely about aesthetics; it is about storytelling through design. Consider incorporating stencils that echo your personality or memories to bring your space to life in vibrant, bold strokes.
CHECK OUT: Click here to explore more
Techniques for Achieving Perfect Results
Now that you have a solid foundation with your tools and materials, understanding the application techniques is essential for mastering the art of stenciling in interior decoration. Achieving crisp lines and vibrant colors requires a systematic approach. Let’s delve into the best practices that will elevate your stenciling projects and ensure professional-looking results.
Surface Preparation
Before even considering paint, dedicate time to proper surface preparation. Whether you are stenciling on walls, furniture, or fabric, the surface must be smooth, clean, and dry. Use sandpaper to gently smooth rough areas and wipe down with a damp cloth to eliminate dust and debris. If you’re working with a wall, consider using a primer to create an even base. Not only does primer help with color vibrancy, but it also aids in paint adherence, making it significantly easier to remove the stencil later without damaging the surface.
Positioning Your Stencils
Correct stencil placement is paramount. Use painter’s tape to secure your stencil firmly against the surface. To help you visualize the final result, consider using a level or a measuring tape to ensure your design is straight and centered. Marking subtle guiding lines with a pencil can be beneficial, especially for intricate designs. Remember, precision in your placement will set the tone for the overall professionalism of the finished project.
Choosing Application Techniques
Once your stencil is securely positioned, you can begin with the application of paint. There are a few effective techniques you can employ:
- Dabbing: Use a stencil brush or a foam applicator to dab the paint onto the stencil. This prevents excess paint from seeping underneath the edges. Always start with a small amount of paint on your brush to prevent drips and bleeding. Apply several light layers instead of one heavy coat for the best results.
- Rolling: For larger designs, using a small roller can speed up the process. Roll paint over the stencil with moderate pressure to avoid smudging. Again, a light hand is crucial; you can always add more, but overloading your stencil with paint can lead to messy results.
- Sponging: Sponges allow for a unique textural effect. Utilize them to apply color through the stencil for a more dynamic look, especially suitable for background texturing. This technique is excellent for creating a mottled or layered effect that gives depth to your design.
Cleaning and Reusing Stencils
After finishing your first layer, it’s essential to clean your stencil before repositioning it for additional layers or other colors. Rinse your stencil in warm, soapy water promptly to avoid paint drying and becoming difficult to remove. Use a soft scrub brush to gently clean detailed areas, and be careful not to bend or warp your stencil during cleaning. Proper maintenance will ensure your stencils remain in top condition for future projects, maximizing your investment.
Layering and Color Mixing
For those looking to push their creativity further, experimenting with layering techniques and custom color mixing can significantly enhance your project. When layering, allow the first coat to dry completely before applying additional layers to avoid merging colors. Mixing colors directly on your palette can also yield exciting results, creating unique hues that complement or contrast beautifully with your design scheme.
Armed with these essential techniques, you are now prepared to take your stenciling projects to the next level. The secret to mastering interior decoration through stenciling lies in practice and experimentation, so don’t hesitate to explore your creative boundaries. With time and patience, you’ll find that stenciling can transform any space into a reflection of your personal style.
CHECK OUT: Click here to explore more
Conclusion
Incorporating stencil techniques into your interior decorating arsenal opens up a world of creative possibilities. As we’ve explored in this ultimate guide, success in stenciling hinges on meticulous preparation, precise application, and innovative experimentation. From ensuring a smooth surface and proper stencil placement to mastering techniques like dabbing, rolling, and sponging, each step plays a pivotal role in achieving stunning results. This multifaceted art form not only allows for personal expression but also enhances the aesthetic value of your home.
Moreover, engaging with layering and color mixing techniques can elevate your designs to new heights, giving you the ability to customize your décor in ways that are uniquely yours. Remember, practice is key; the more you work with stencils, the more proficient you’ll become, turning walls, furniture, and even fabrics into striking pieces of art. As you embark on your stenciling journey, embrace the process of trial and error, allowing your creativity to flourish.
Ultimately, mastering stencil techniques offers you not just a means of beautifying your space, but also an opportunity to showcase your individuality. Explore various patterns and designs that resonate with your style, and watch as the transformation unfolds, making your home a true reflection of your personality. With the knowledge gained from this guide, you’re well-equipped to unleash the decorator within you. So gather your materials, unleash your imagination, and start turning your interior spaces into stunning showcases of art and style.